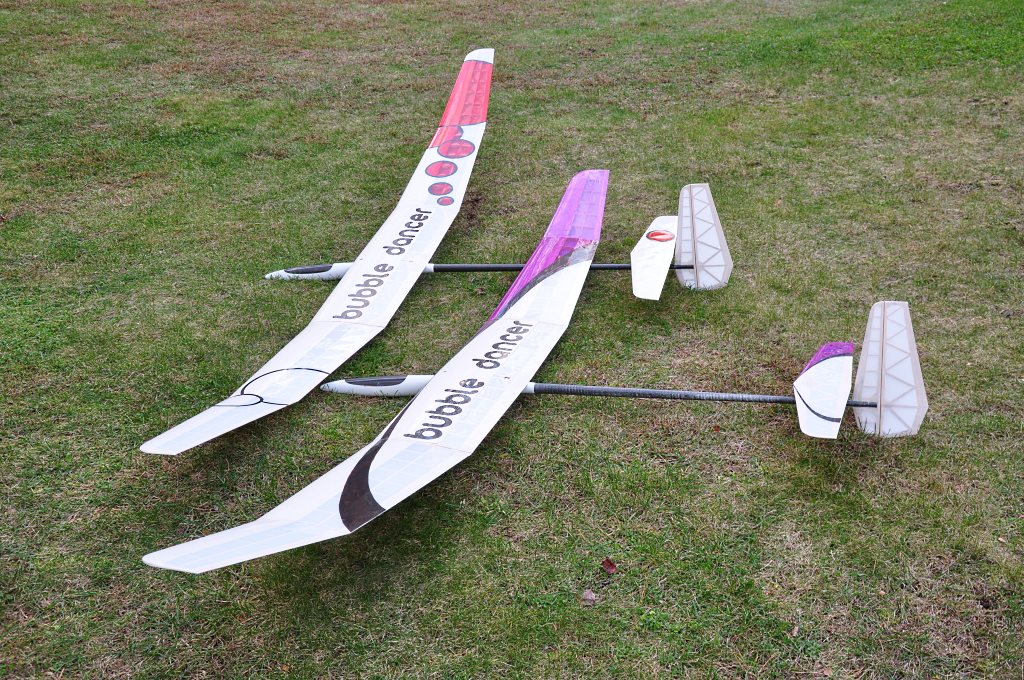
So... Now that I have built 2 of these
wonderful airplanes (and a 3rd one is on the way), I'm a little more qualified to make
some suitable observations about the build process.
From what I've seen online, there are some who have built 4, 5, 6, 7 of these planes and I would bow to their knowledge if they provide it...
From what I've seen online, there are some who have built 4, 5, 6, 7 of these planes and I would bow to their knowledge if they provide it...

Based on the email that I get - one thing seems
to get overlooked when it comes to finding build documentation for
the Bubble Dancer: the Bubble Dancer is
essentially a scaled up Allegro-Lite.
It says so in the first
sentence of the
Bubble Dancer website.
This one fact is important because a huge amount of the explanation and documentation on the design and fabrication processes of the Bubble Dancer are discussed in detail - not on the Bubble Dancer's website - but on the Allegro-Lite's website!
So do yourself a favor - look at what's on the Allegro-Lite's website.
Image Source: CRRC Website
Building a Bubble Dancer is a community project in a lot of ways.
You're going to need the help that can be found online from a
variety of sources.
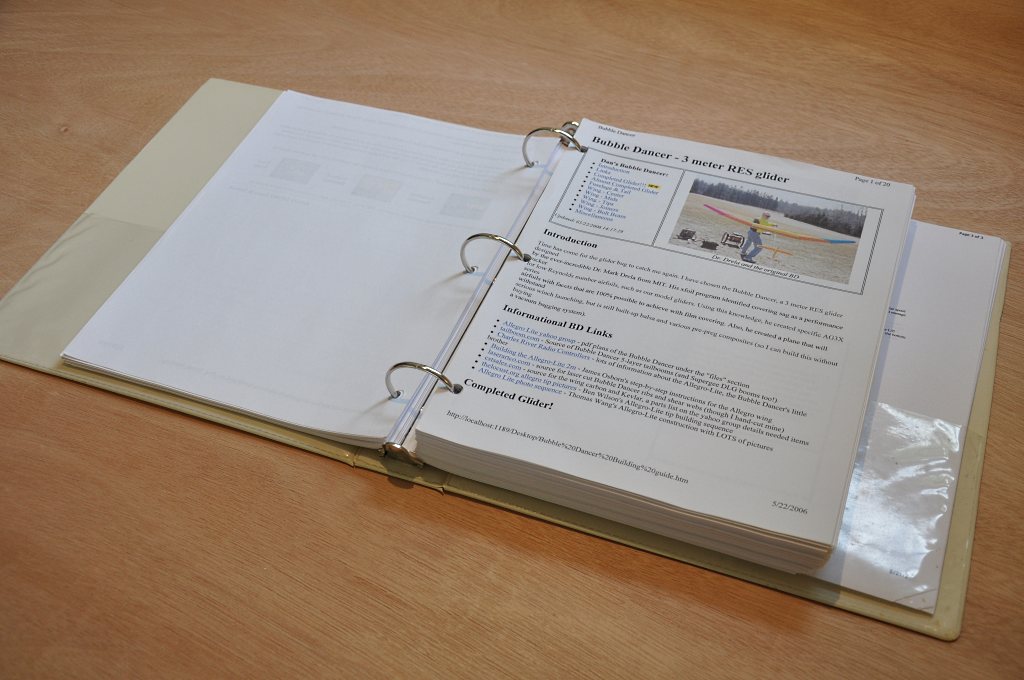
When I got started on the project, I read through most of what I could find online, and printed out a good bunch of it so that I could refer to it during the build.
The Allegro-Lite Yahoo Group is also a great place because you can ask for clarification from a bunch of guys who have built these planes, and you might even get some input from Mark Drela himself.
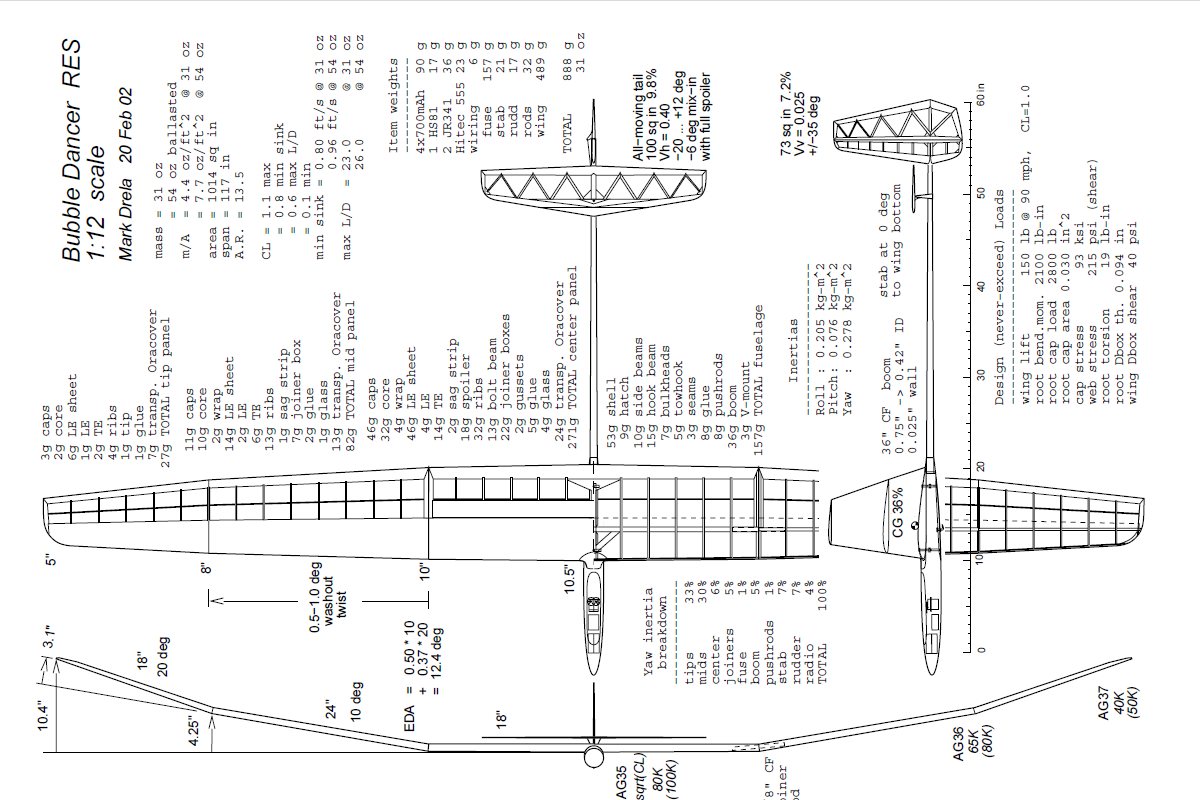
Do yourself a favor and buy the full-size plans from Isthmus Models. The plans come in 2 sheets and only cost $25.
It will save you hours of frustration trying to piece together a bunch of pages from your printer, and most likely you will have to fiddle a bunch with your printer settings to get them to print the correct size.
One note of caution: The most recent set of plans I purchased were about 1/8" short in span on each wing panel. This won't matter if you build each panel separately, but if you do use a jig, you will want to make sure your jig is the right size for the plan...
Ok. Building a Bubble Dancer...
First things first.
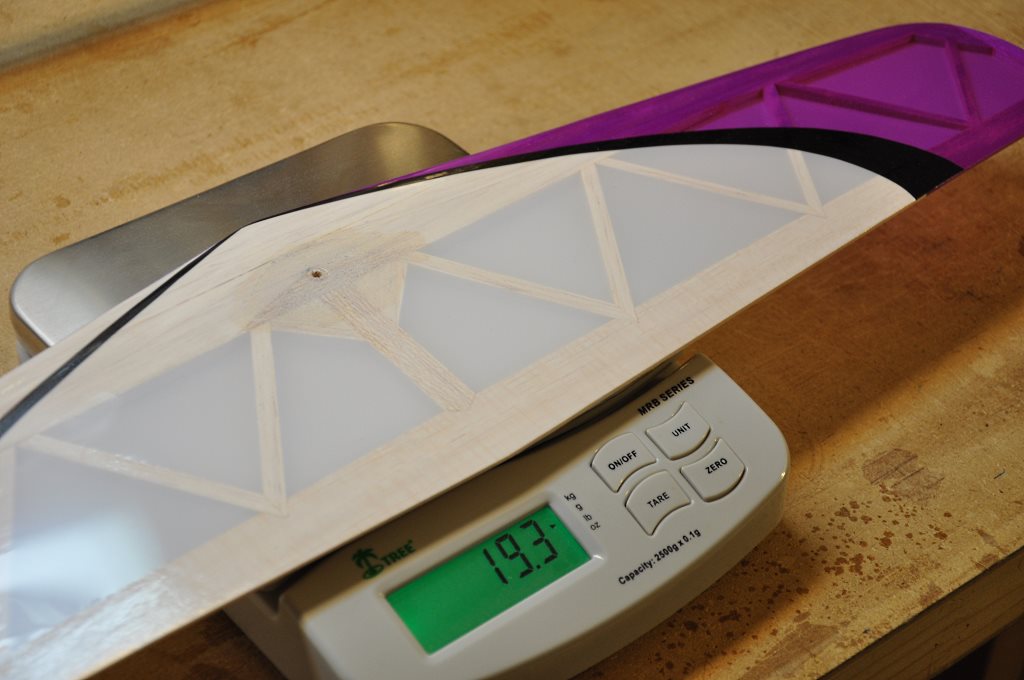
Buy a scale... Buy two scales. One for your shop and one to take shopping.
I built my first Bubble Dancer without a scale, and trust me - you can't build this plane properly without a scale.
First things first.
Buy a scale... Buy two scales. One for your shop and one to take shopping.
I built my first Bubble Dancer without a scale, and trust me - you can't build this plane properly without a scale.
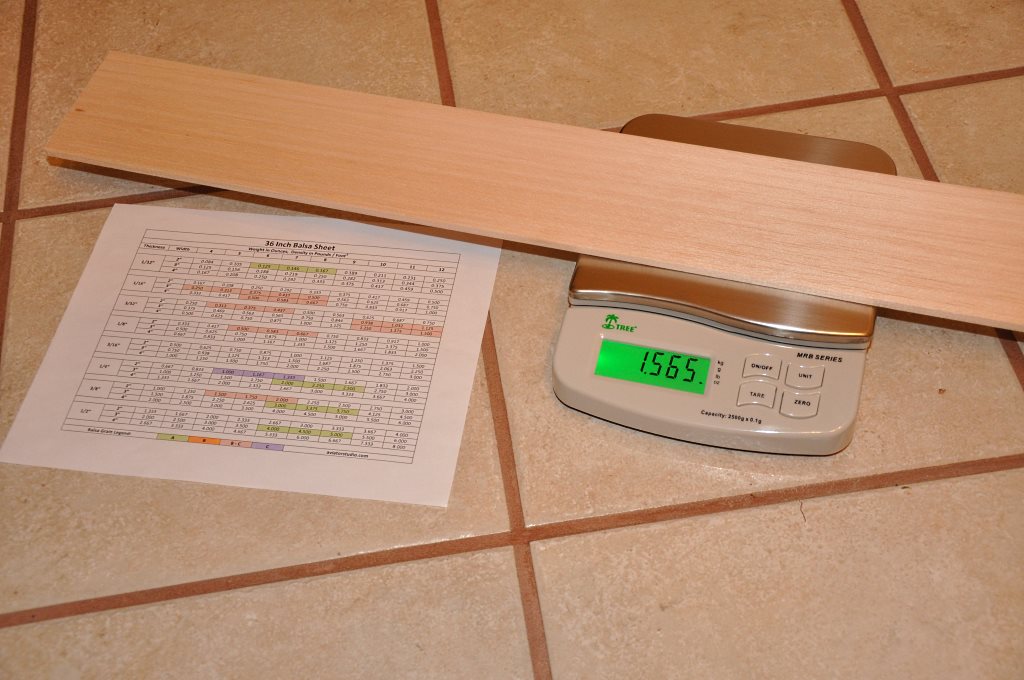
It all starts with the material you buy. If
you don't have the proper weight balsa, it will be impossible to
meet the build weight targets for the Bubble Dancer.
So take your scale shopping. On my current build, I visited no fewer than 14 different hobby shops - often walking out of them with nothing purchased, because they had nothing suitable - before I had sufficient balsa of the requisite weight and grain.
Good quality balsa is getting harder to find - be persistent!
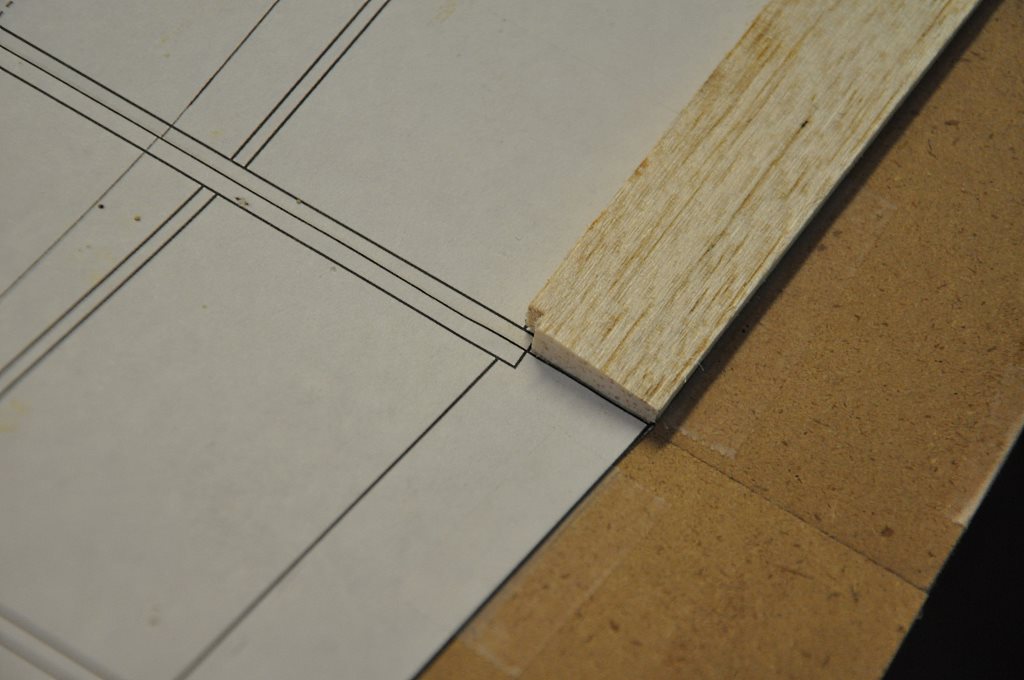
I found that one type of balsa was particularly
difficult to find - trailing edge stock. Keep in mind, this
stock as called for on the plans needs to be "C" grain - but light.
Many of the hobby shops I visited had trailing edge stock - much of it "C" grain - but without exception, it was at least 2, to 3 times overweight!
So buy a razor plane - buy regular balsa of "C" grain and make your own "trailing edge" stock... This, I was able to find in the hobby shops. I would never have been able to meet the weight targets if I had only purchased what was sold as "trailing edge stock".
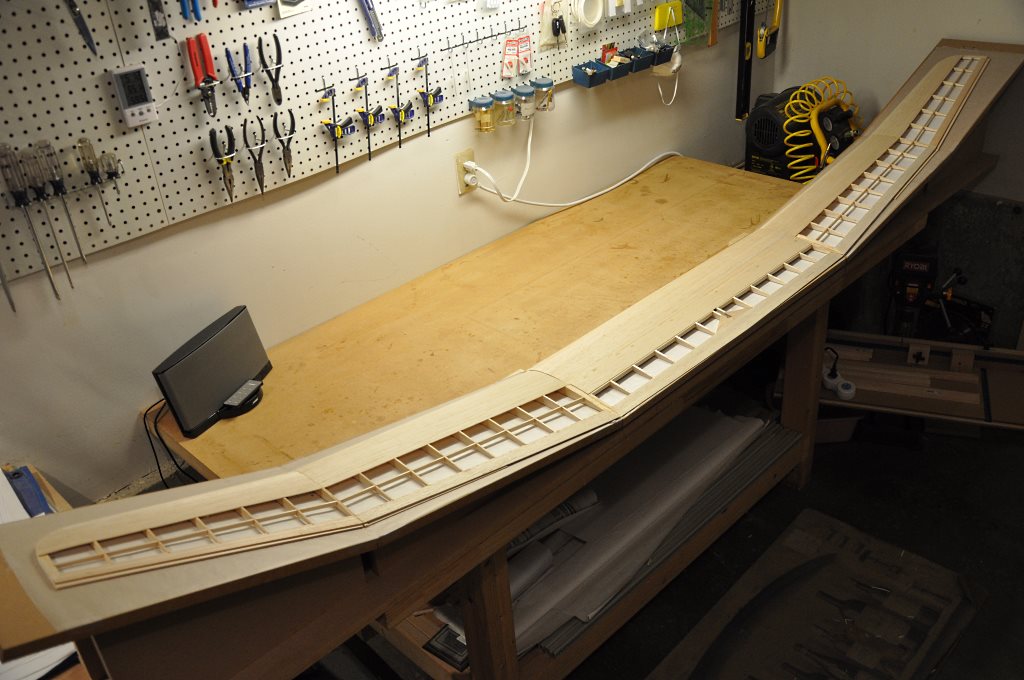
Ok, here's the big one... Build a
whole-wing jig.
Yes, it takes some time to do. Yes, you need space for it. But for my money, it makes the build go so much faster and produces a much better quality wing.
One of the really big side benefits of the jig is getting the panels to line up with each other - it happens naturally. Many guys I've talked to have expressed frustration (as I did on my first build) at the difficulty in getting the panels to align with each other. I had to resort to filler to fix things up cosmetically - yuck! Who wants to do that?
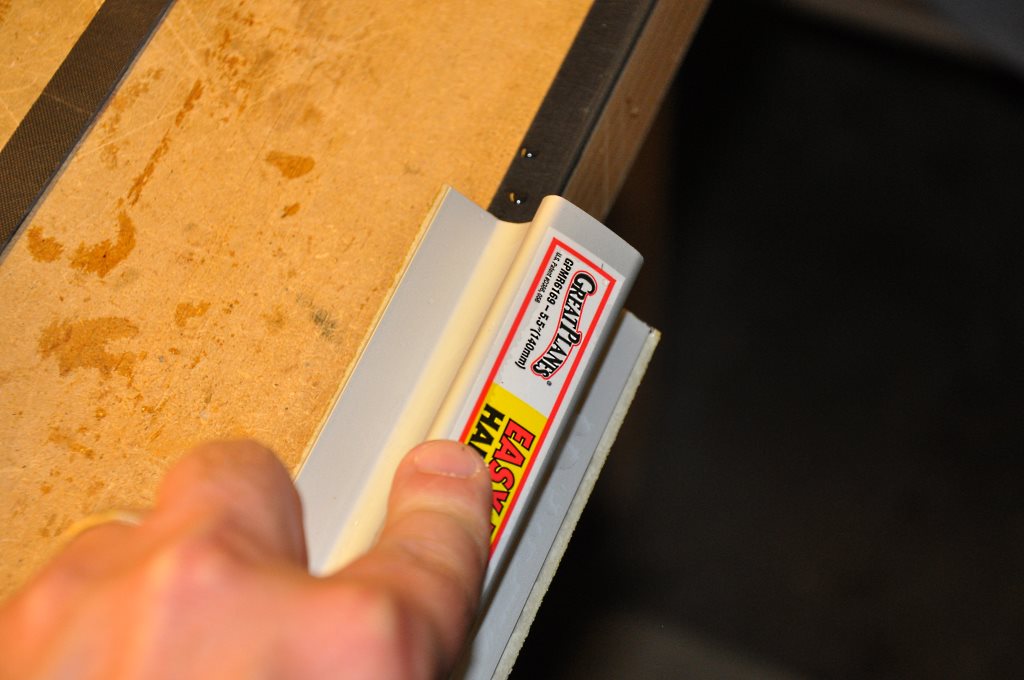
Round the carbon fiber spar caps before you begin
the wing assembly.
I found this to be a HUGE time saver! On my first BD build I rounded the spar caps after I laid up the spar and that was very, very time consuming - not to mention, difficult - as it was hard to get my sanding block between each rib without causing damage to the ribs.
I found this to be a HUGE time saver! On my first BD build I rounded the spar caps after I laid up the spar and that was very, very time consuming - not to mention, difficult - as it was hard to get my sanding block between each rib without causing damage to the ribs.
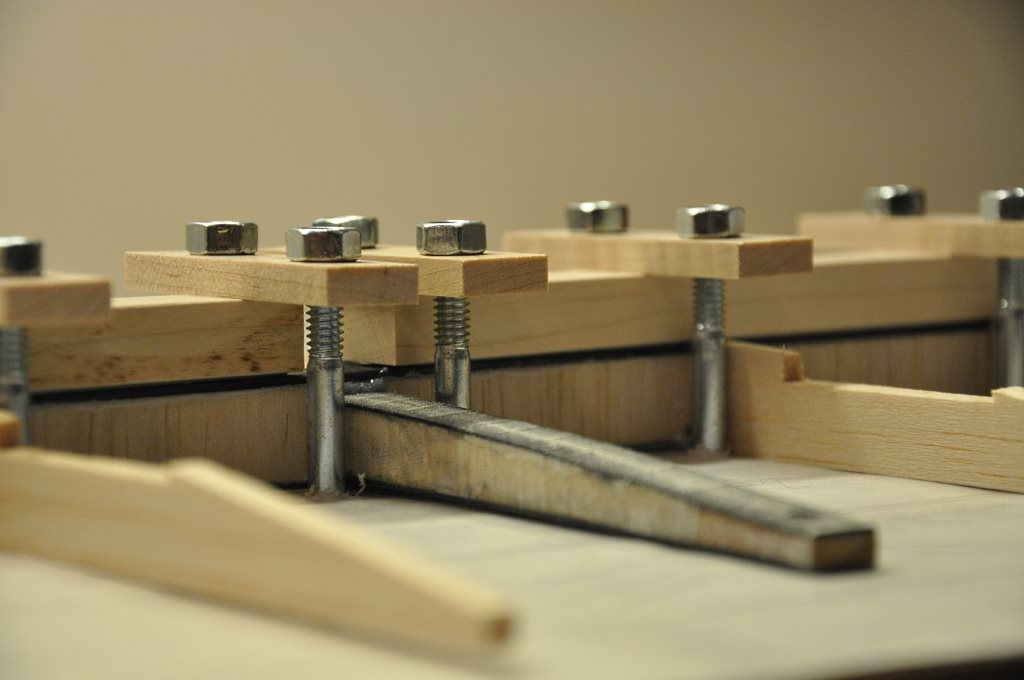
Another HUGE timesaver is really, really working
to clean up the epoxy splooge while the
spar is curing.
Get in there with a small flat scraper of some sort and remove as much epoxy as you can. The less that is there once the wing has cured, the faster you can move on to the next steps.
Get in there with a small flat scraper of some sort and remove as much epoxy as you can. The less that is there once the wing has cured, the faster you can move on to the next steps.
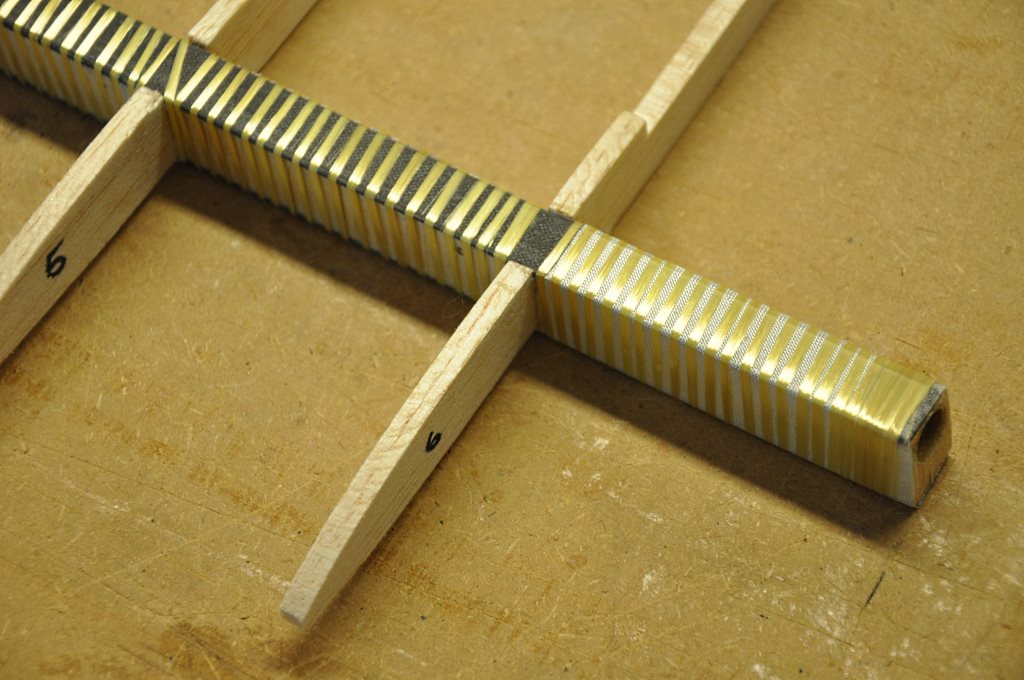
Glue control, glue control, glue control...
It may not look like it, but this picture shows several glue control
principles in action.
1.) Don't use any glue. That's right. The kevlar tube in the joiner blocks was a perfectly snug press-fit and I used no epoxy to secure it in place.
2.) Delay the use of glue, until several things can be glued at once. In this picture, I have not epoxied the fiberglass wrap, since I knew that I would need to brush epoxy onto the Kevlar wrap later. So why not wait - thereby only needing one epoxy application instead of two. Of course always blot off as much excess once you do!
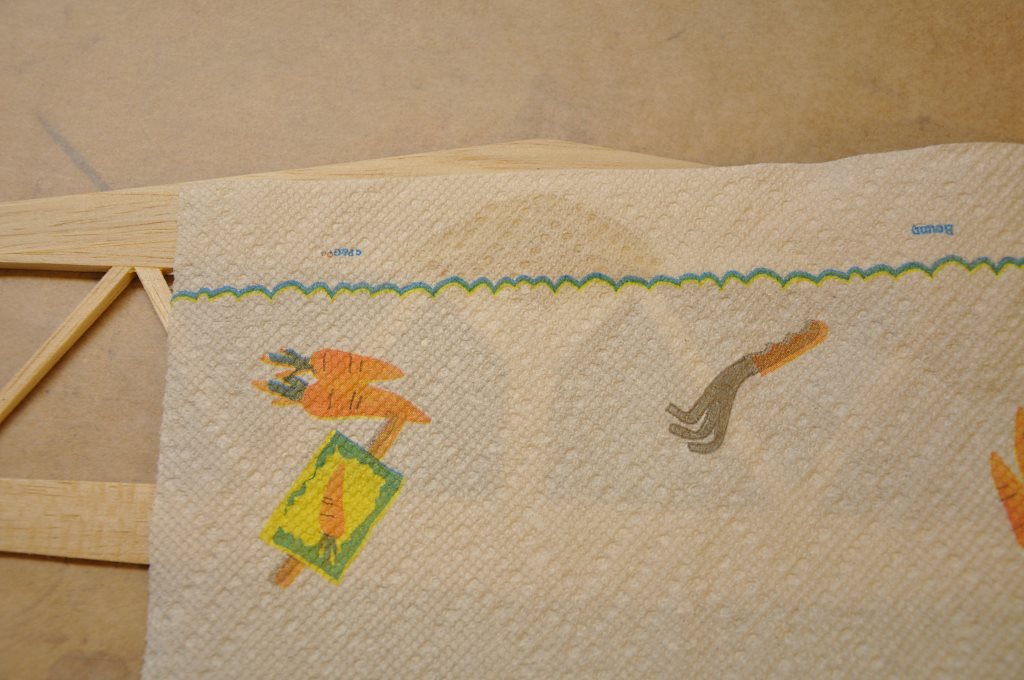
If there is any one place to concentrate your
weight-saving efforts - it is in the tail group: the fin and
elevator.
There are a couple of key areas to concentrate on here: light balsa selection, of course, but also making sure that you keep the various fiberglass patches as light as possible. Do this by thinning the epoxy with alcohol and then be sure to blot the patch with a paper towel to absorb as much excess epoxy as you can.
For what it's worth, I've also never put the "laminated very hard balsa or basswood" at the bottom of the vertical fin that the plans call for - I've not seen any damage there to date...
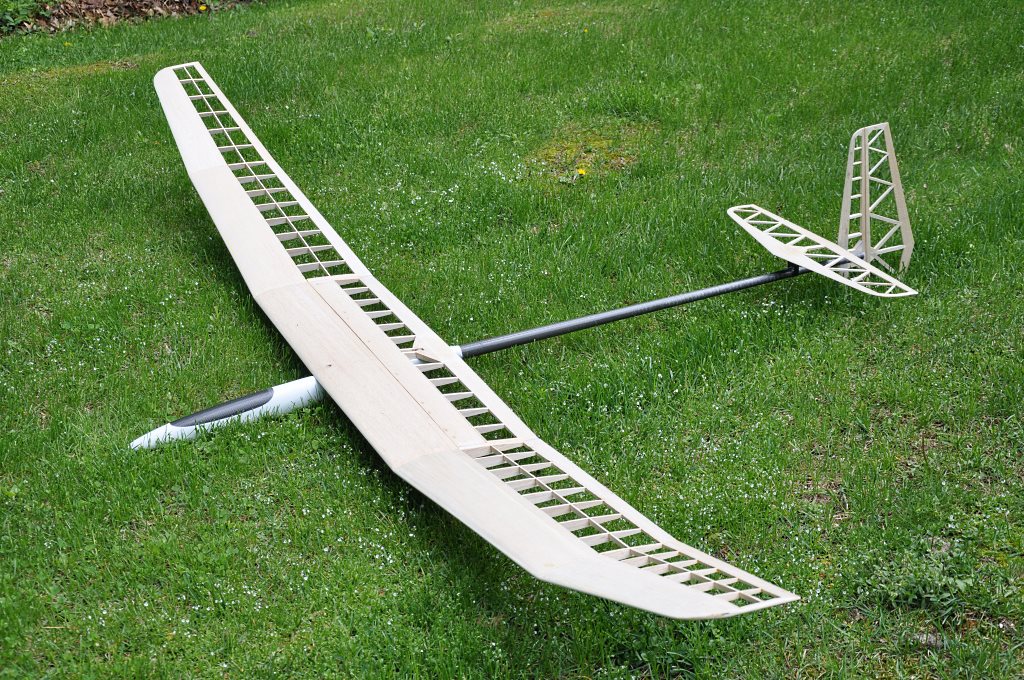
Building a Bubble Dancer is not easy, but instead
of looking at it as an impossibility - look at it as a challenge.
Keep in mind that proper planning and continual attention to detail will add up to an aircraft that will stretch you in new ways and leave you with a real sense of accomplishment!
I and many others who have made this journey stand ready to assist you with whatever questions you may have.
To reach me via email, look on my contact page.