To make the spar shear webs I followed the suggestions of Dr. Drela as posted on the Allegro-Lite Website under the document "Accurate Shear Web Cutting".
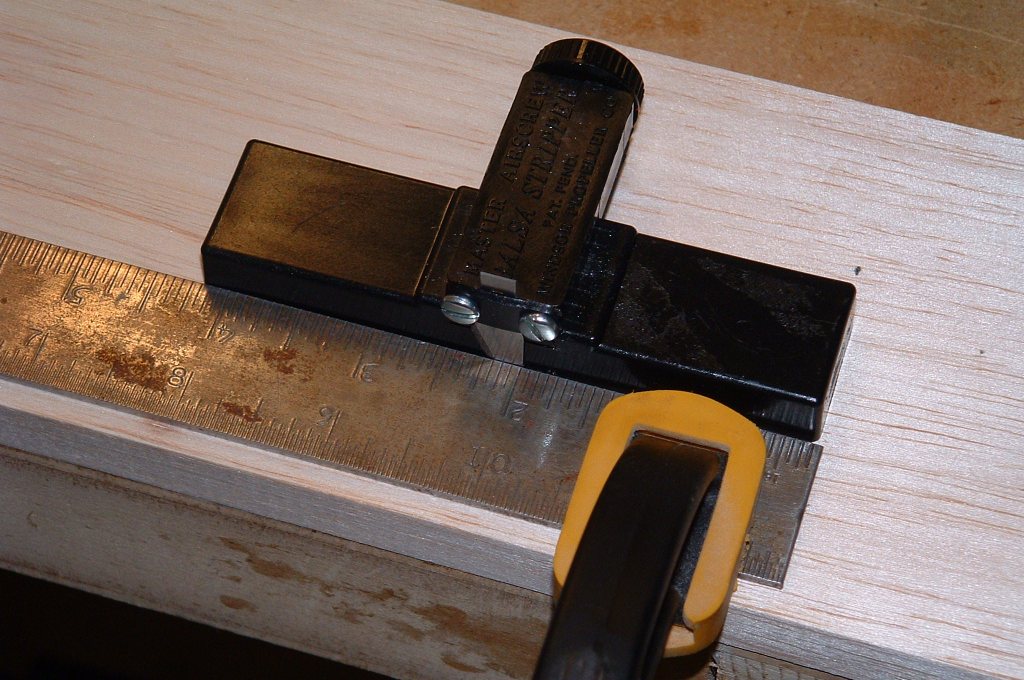
First the sheet stock must be cut to the width of the web. To do this, I clamped a straight edge to my stock at the correct dimension and then ran my balsa stripper with the blade against that straight edge. This produced a very good, dimensionally correct edge.
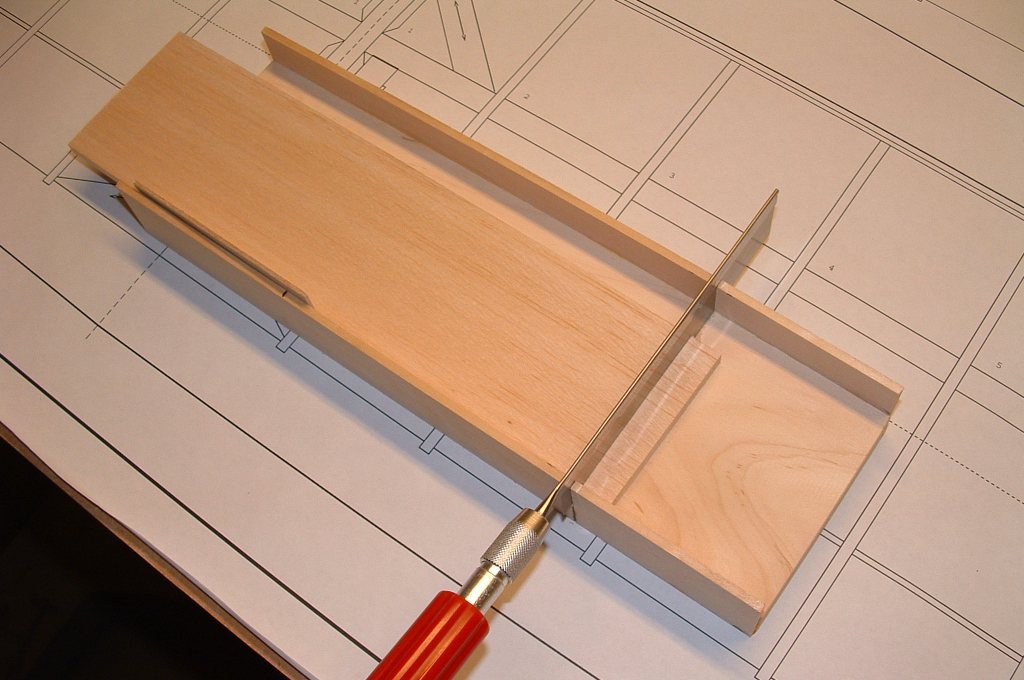
I used 3/4 in. Maple and 1/8 in. Basswood to make this miter box for cutting my shear webs.
Following the suggestion in the document listed above, I shimmed up one wall of the miter box to set the taper angle of the shear webs. Note: The angle changes for the tip, mid and center webs, so don't glue in the shim. I just marked a line on the box to show where to place the shim.
I alternated cutting the webs first using the shimmed side of the box and then the unshimmed side. This allows you to cut consecutive webs right down the length of the sheet stock.

I chose to save time by cutting both left and right wing webs consecutively.
I measured the height of the web and cut the left wing side first, using the shimmed side of the box. I then used the newly-cut web as the template for cutting the right wing web using the unshimmed side of the box.
I guess this could be called "measure once, cut twice"... :-)
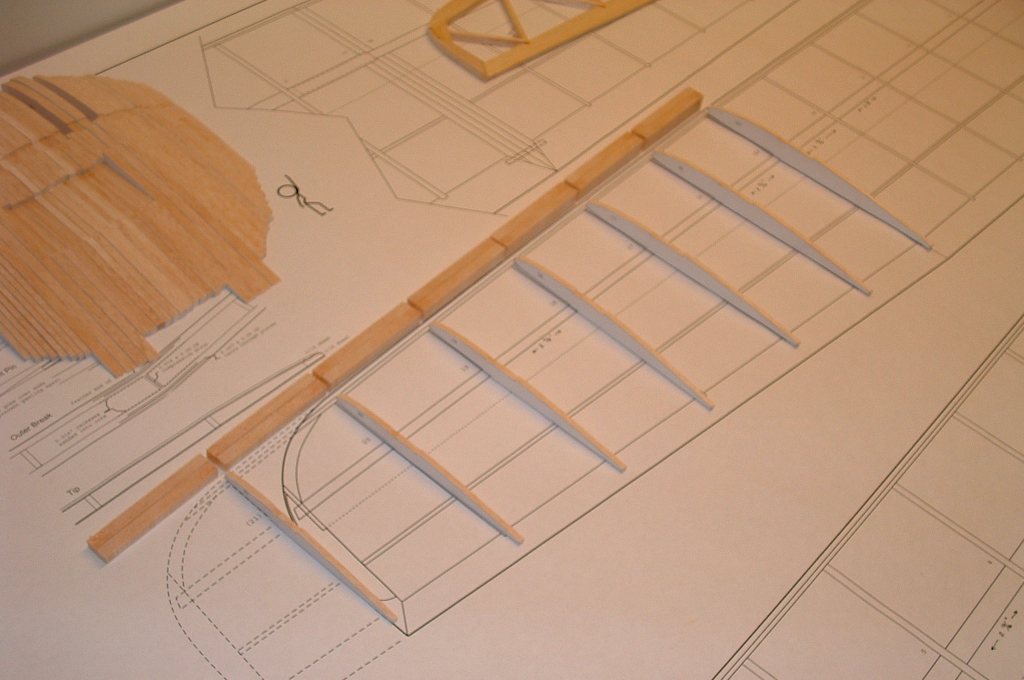
Here is a shot of my tip webs laid out on the plans.
I'm going for broke and building the extended length 126" wings. Hey, who needs a small glider, right?
In this picture the left and right wing webs are shown together.
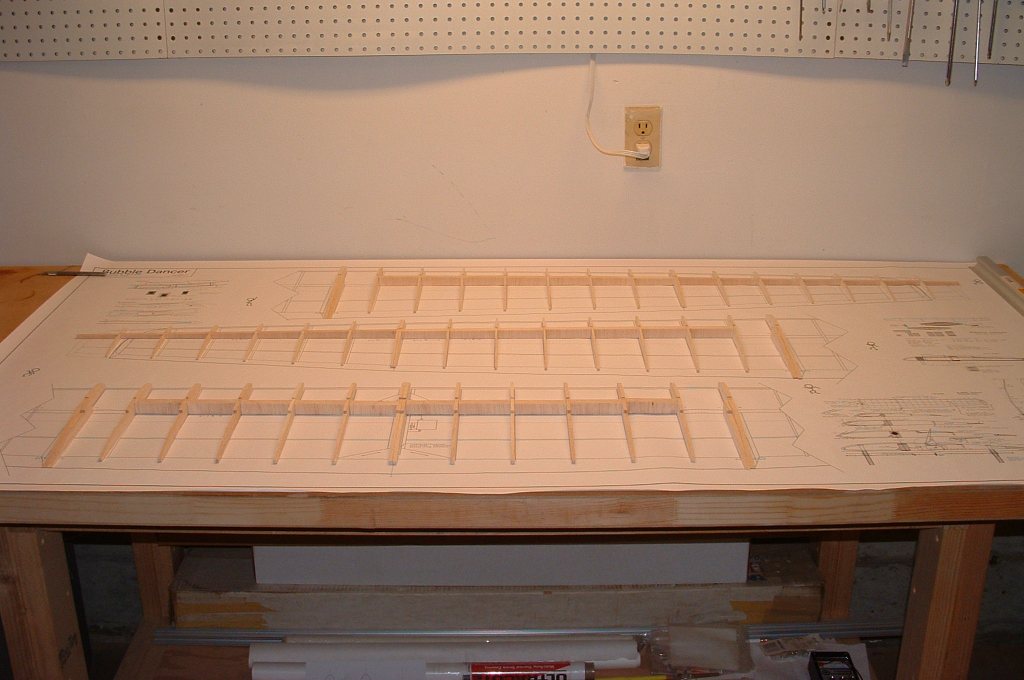
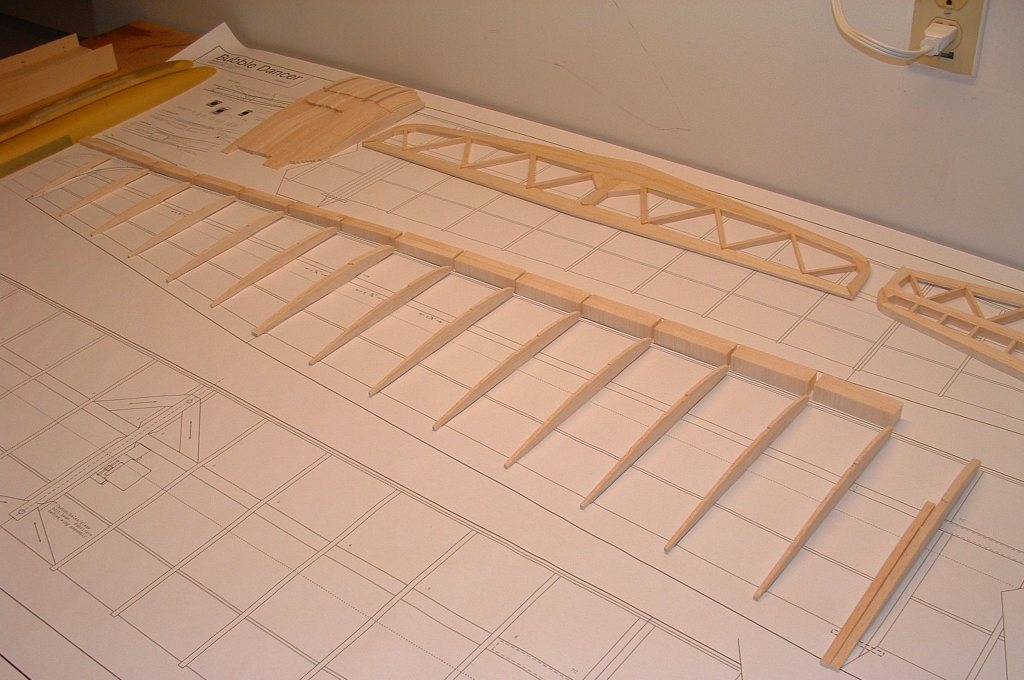
All my webs are now cut and here we have the obligatory dry-fitting of wing rib and webs. Laying everything out allows me to see if my parts are sized accurately and make the necessary adjustments.
Those of you who look close enough will note that the tip ribs are not lined up correctly in this shot. This is because I have not split the ribs at the mid-tip break yet and so that added thickness shoves all the subsequent ribs over.