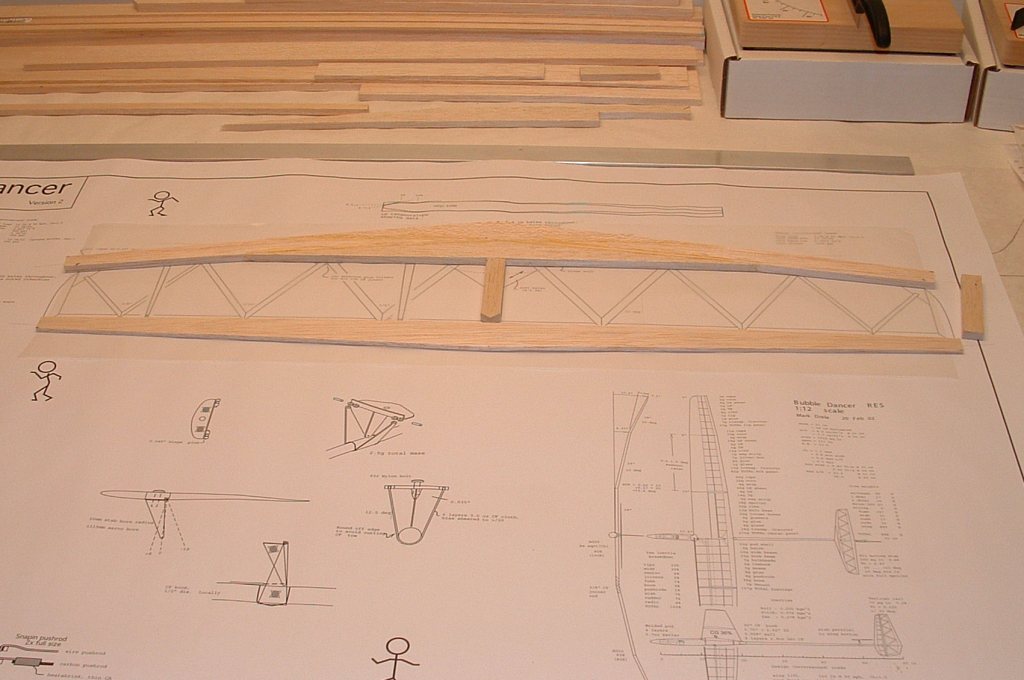
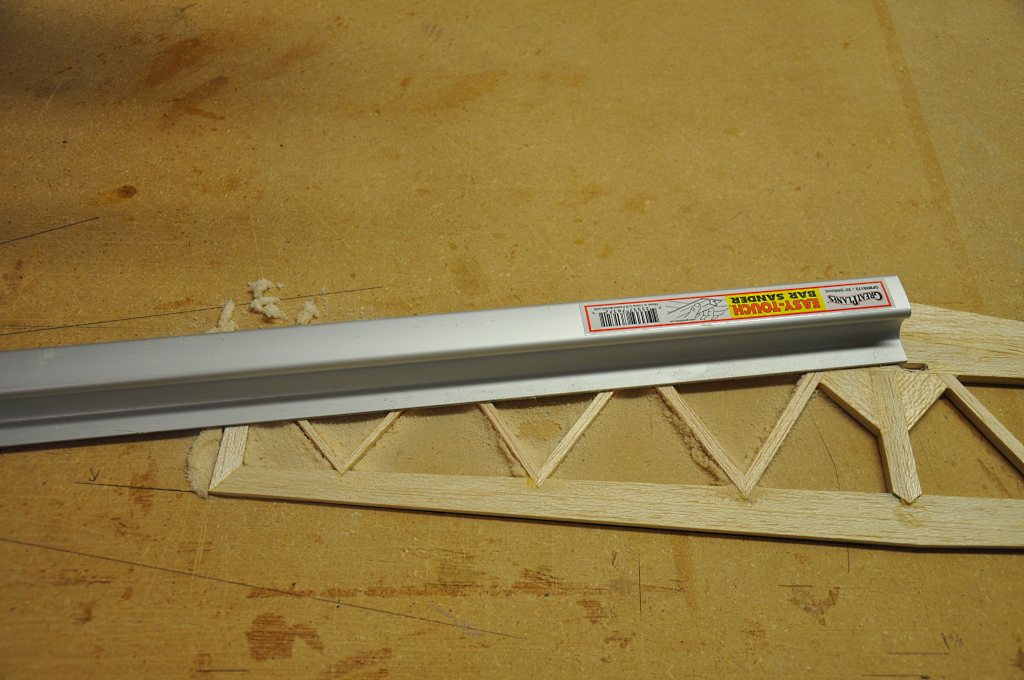
As with the vertical fin, I started by cutting to size the long pieces.
Note the grain direction on the plans for each of the leading edge strips. Once assembled, the grain directions make for a very strong roof-truss like assembly. Also note that the stab is made of 1/4 inch stock instead of 3/8 as used in the vertical members.
I left the end pieces unshaped, so that final shaping can be done after the stab is completely glued up.
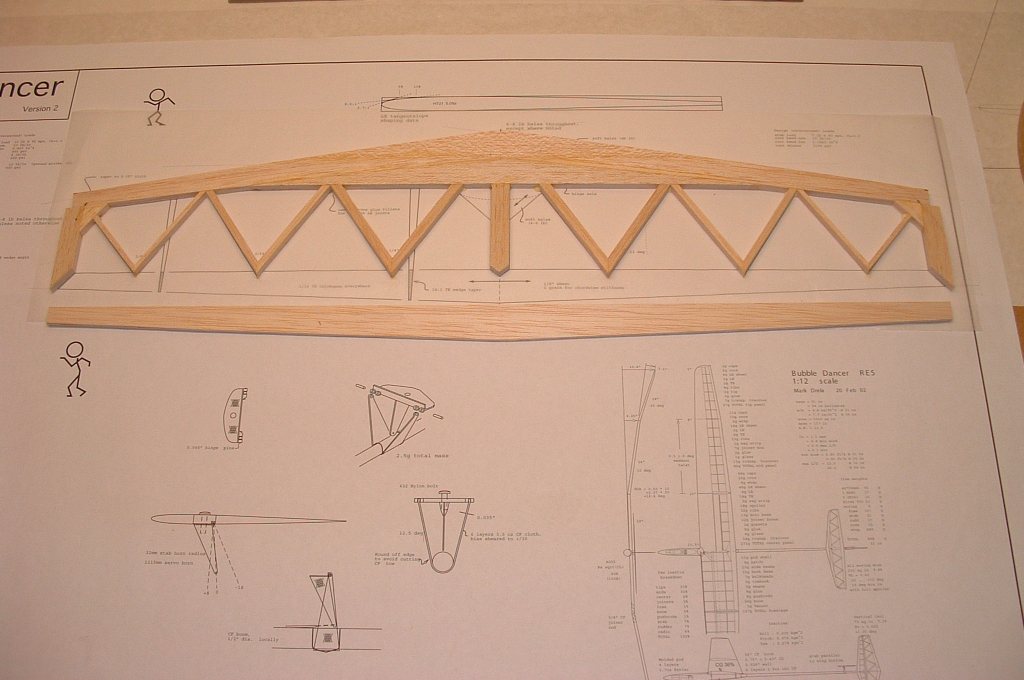
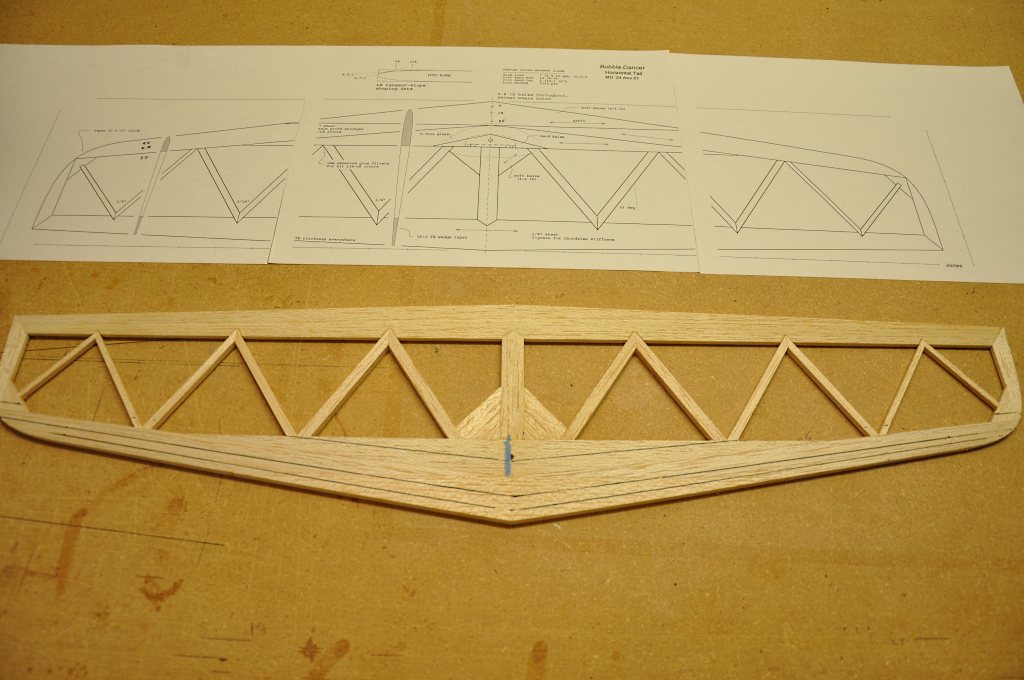
The horizontal stab is a little easier to build than the rudder when it comes to the diagonal ribs since they are all joined at the same 33 degree angle (except for the most outboard ribs, they're just a little different).
It can speed things along to cut all your ribs sticks a little long and then gang-sand then to get the angle. Once the trailing edge joints are mitered, the other ends can be miter sanded, working in outward moving pairs, to utilize the same angle on the miter sander.
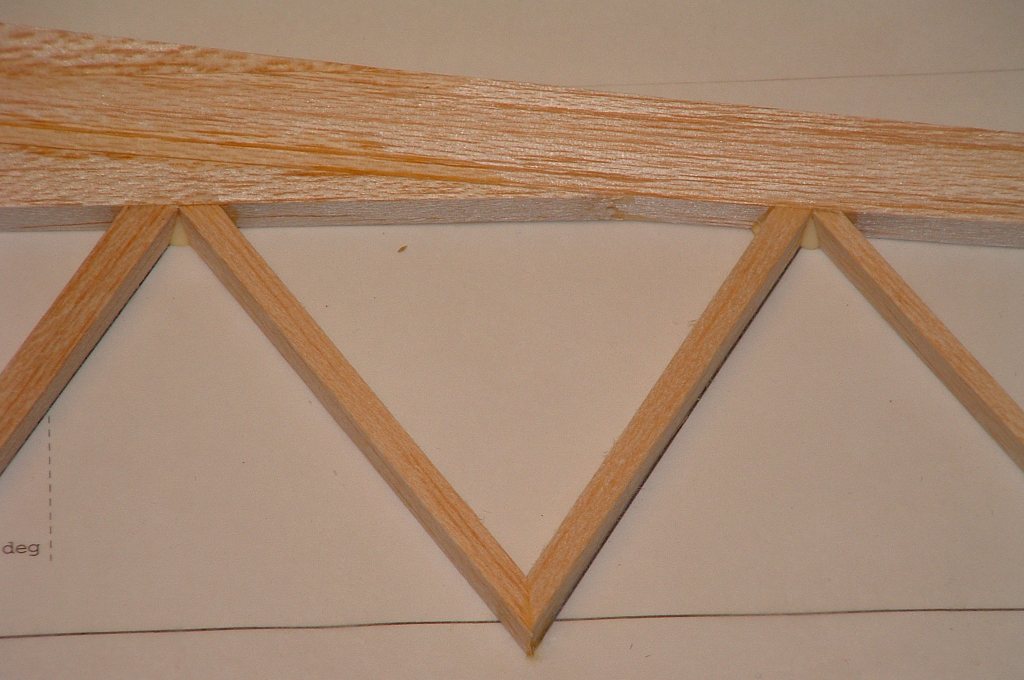
A close-up of the V-joint used on all the stab ribs.
Note the generous glue fillets at the leading edge of the ribs, as called for on the plans.

The trailing edge is now notched and attached to the rest of the stab assembly. The corners have also been contoured.

A side shot showing the trailing edge attatched at the midpoint of the ribs.
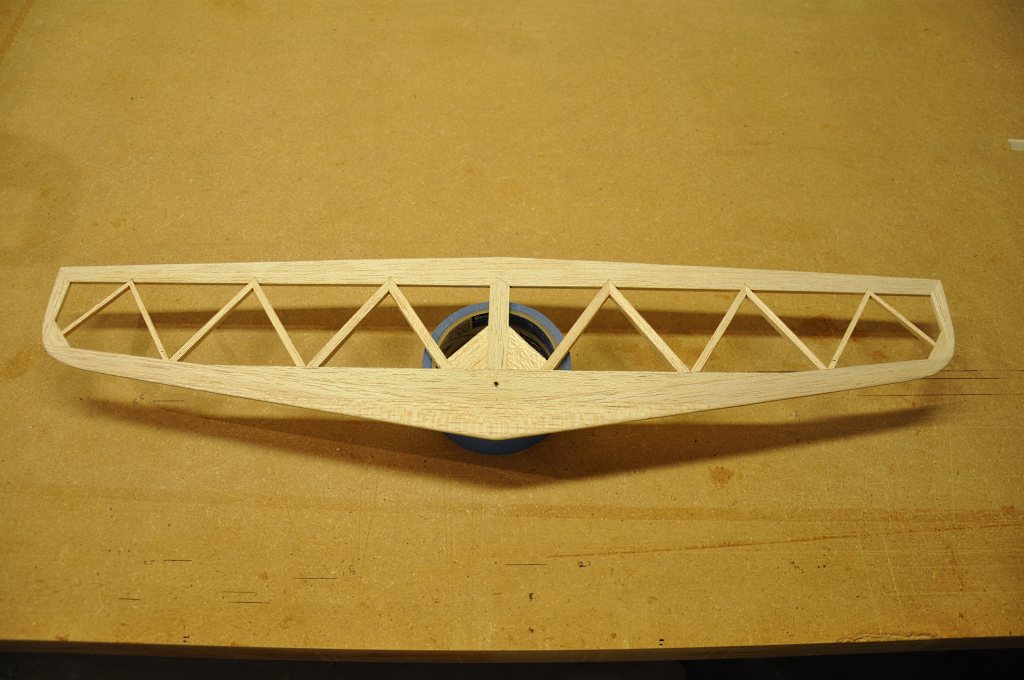
The stab was put aside until the airplane is ready for covering, so that it can more easily stay warp-free.
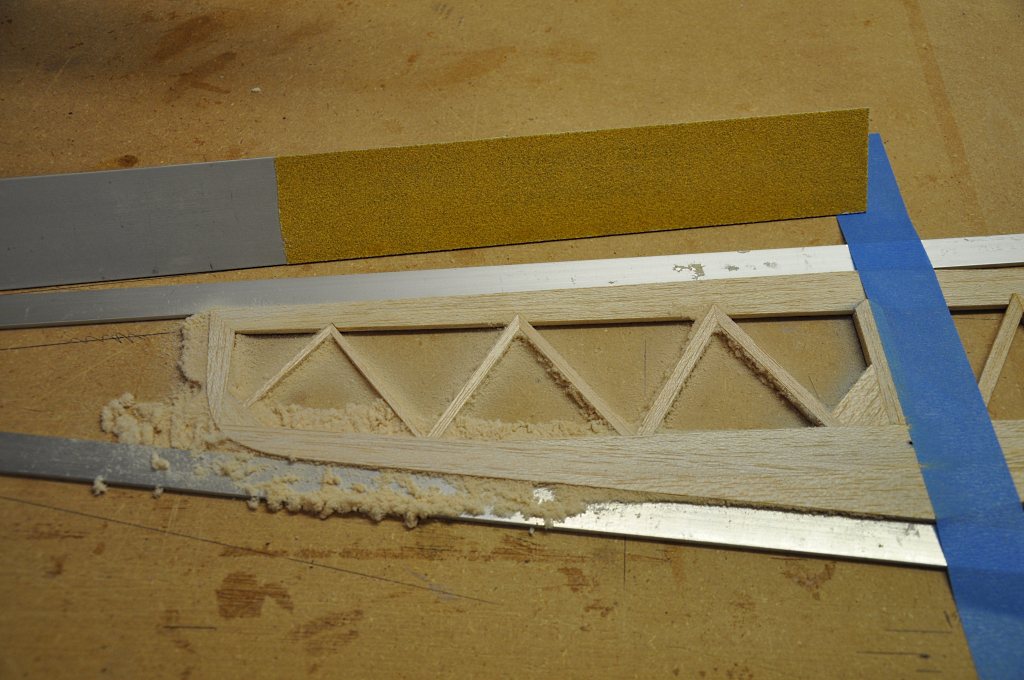
The process for shaping the stab is the same as used for the fin and rudder. I used long bars to align the tapered edges of the stab the proper distance from the edge of the table. (The bars meet at the table edge, off camera.)
Because this distance was longer than my sanding bar, I actually used a 3/32 inch shim halfway between the table edge and the end of the stab instead of a 1/8 inch shim at the table edge as described in the plans.
I then sanded the taper until the sanding bar started grazing the blue tape. (note the blue dust at the root.)
I then removed the bars (They didn't interfere with the first pass, but would have been too tall for the next pass.) and flipped the stab over.
This time instead of no shim, I used a 1/16 inch shim at the half-way location - again, only because my sanding bar couldn't reach all the way to the edge of the table.
I then sanded as before until the taper reached the root.
I used 80 grit sandpaper for this process - perhaps a bit "dangerous" but with care it allowed shaping to progress rapidly.
At this point the stab was shaped span-wise, but still needed to have the HT-21 airfoil shaped into it chord-wise.
As with the fin, I marked off the 5%, 10%, and 25% chord lines onto the stab. Since the airfoil is symmetrical, I made these marks top and bottom.

I set my stab on the oak block that I've been using for these sanding operations, and place the block at the required distance from the table edge to achieve the prescribed slope.
I then sanded up to each line. I did all the 5% (2.7:1 slope) first, then changed the block to the 10% (8.5:1 slope) position and did all those angles. Finally, I flipped the stab around and sanded from the trailing edge to the 25% line to shape the rear part of the airfoil.
Just as a refresher, to achieve these slopes, if you had a 1 inch board - you'd simply set the front of your board 2.7 inches from the table edge. In my case I had a 3/4 inch board, so I multiplied all my slope numbers by .75 and that's how far back I set the board.
And here is the shaped stab ready for some fiberglass reinforcement and covering.
This page is not complete yet!
I am currently doing more work on this part of the Bubble Dancer, so check back again.
-- Current through July 2, 2011