Preparing your model for use in FS One is a two
step process. When you finish exporting your model from
Blender, you will have two new files: one with an .obj extension and
one with a .mtl extension.
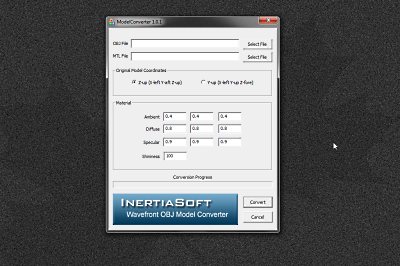
The first step is to run these two new files through a program called Model Converter.
Model Converter is a proprietary program from InertiaSoft (FS One) and you will only be able to get it by requesting it directly from InertiaSoft.
Check out this page for InertiaSoft's own instructions on preparing a model. I will, in effect, be repeating those instructions here...
InertiaSoft says that you should ensure that your
graphics files (the images that your model will use) do not have any
spaces in the file's name.
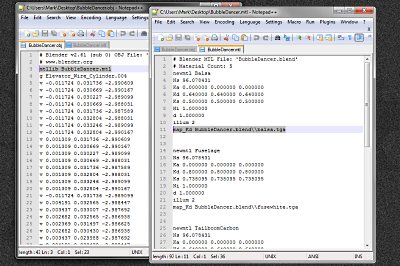
They also recommend using a program like Notepad++ to inspect your .obj and .mtl files for the following:
The .obj file must include the name of the .mtl file and the .mtl file should include "map_Kd" references to your textures.
You can see what to look for in this image.
They also recommend using a program like Notepad++ to inspect your .obj and .mtl files for the following:
The .obj file must include the name of the .mtl file and the .mtl file should include "map_Kd" references to your textures.
You can see what to look for in this image.
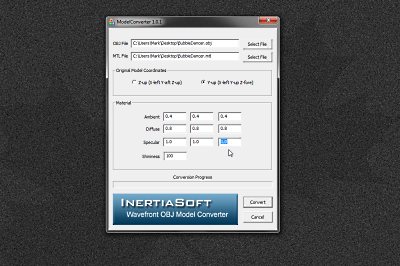
Click on the
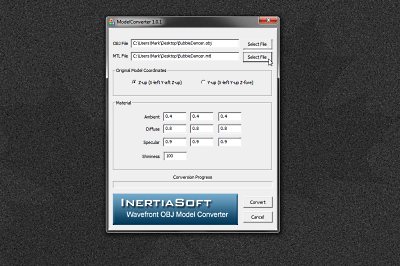
"Select File" button on the "OBJ file" line and navigate to your
newly created .obj file.
Windows will help you locate it by only showing you files with the .obj file extension.
Windows will help you locate it by only showing you files with the .obj file extension.
Next, click on the "Select File" button across
from the "MTL File" line and navigate to the other file exported
from Blender. This file will have the same name, but have a
.mtl extension.
Again, windows will filter the results to show you only files with the .mtl extension.
Again, windows will filter the results to show you only files with the .mtl extension.
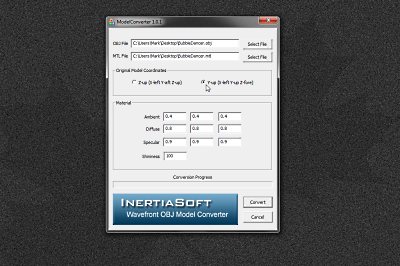
Select "Y-up" if you left "Y-up" in the export
settings in Blender as I did.
If you change it to "Z-up" in Blender, then you can skip this step as the default selection is "Z-up." (I suppose I could re-do my settings to save a step, but for now this is how I have things set up...)
If you change it to "Z-up" in Blender, then you can skip this step as the default selection is "Z-up." (I suppose I could re-do my settings to save a step, but for now this is how I have things set up...)
In each of the three "Specular" boxes change the
"0.9" to "1.0".
I've tried it both ways, and I can't tell any difference, but InertiaSoft says to us "1.0" - so there you have it...
I've tried it both ways, and I can't tell any difference, but InertiaSoft says to us "1.0" - so there you have it...
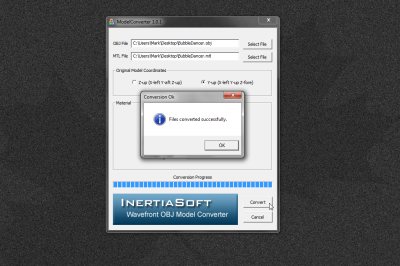
Finally Click "Convert" to begin the conversion
process.
If all goes well you should see the confirmation window, otherwise you might see an error message and you'll need to figure out what went wrong.
(A note from experience here... Try all of the above with a simple Blender model first - I used the default cube - to give you the simplest possible way to work out all the kinks in your process first. If you try this with something complicated first, it will be much harder to discover where an issue might lie...)
