The Bubble Dancer can use brass or Kevlar wing joiner tubes. According to the plans, the brass ones will weigh 6.5 grams more than ones made of Kevlar.
I started with Dr. Drela's instructions for rolling Kevlar tubes as posted on the Bubble Dancer website, and made a few modifications.
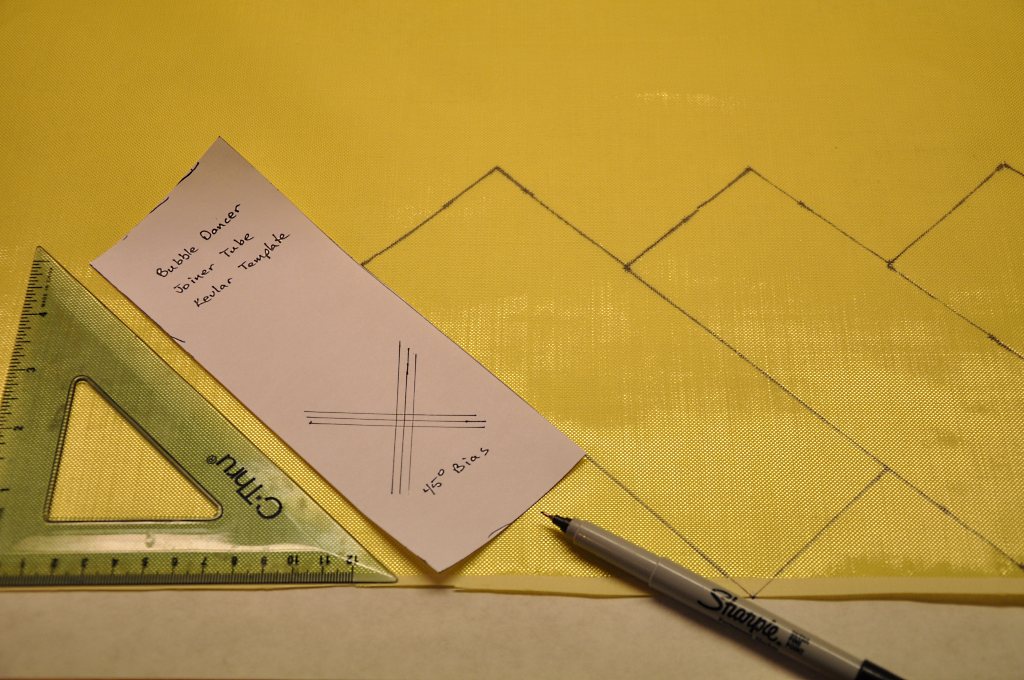
I figured out the dimensions of the 1.7 oz. Kevlar by rolling some paper 6 times around a 3/8 inch wing rod. I then made a paper template and marked the cutting lines on a 45 degree bias.
The instructions specify that .75 oz. fiberglass at 0-90 degrees be rolled up with the Kevlar.
The fiberglass should overlap the Kevlar by 1/2 inch on all sides and will go under the Kevlar during the roll-up. Depending how accurately you achieve the roll, the glass overlapping on the sides will be completely cut from the final tube.
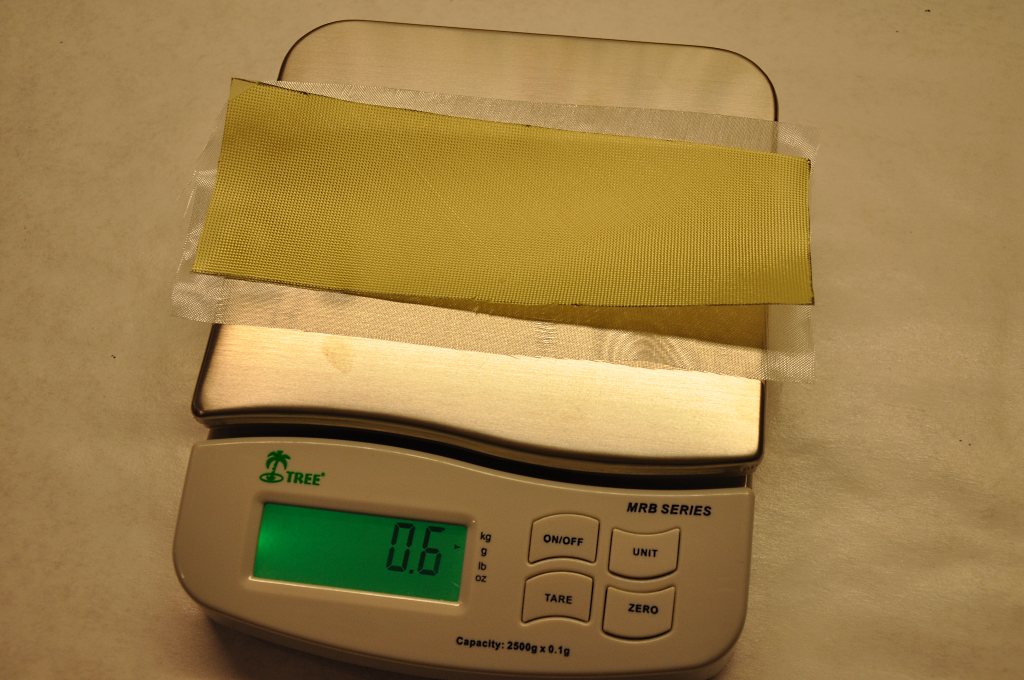
I checked the material weight, in order to get a reference on how much epoxy I would be using to meet the 1.5 gram final target weight.

Ok, here is my first deviation from the instructions...
The plans call for rolling waxed mylar over a Vaseline coated wing rod - but I have wax and mold release for use with general mold making and saw no reason I couldn't use them here. By removing the mylar, I get that much of a tighter fit to the wing rod, and save the extra step of working with mylar.
I waxed my wing rod (you will note I'm using a stainless steel rod, not the actual carbon rod - more on why later.) 6 times and then applied 2 coats of mold release. I used the products shown, but there are many other such products.
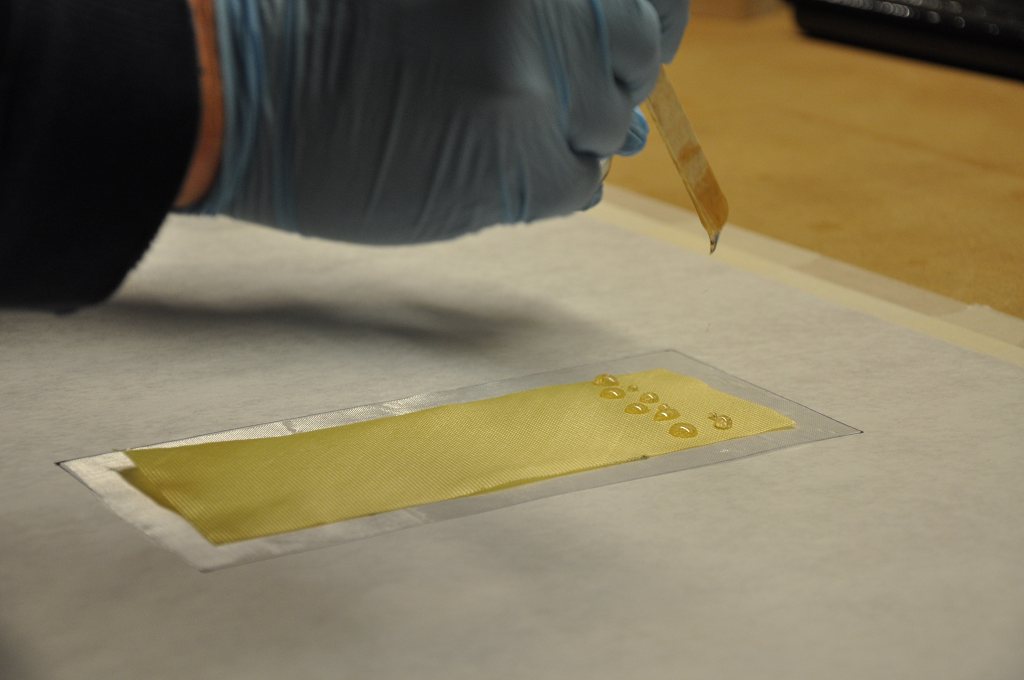
I mixed up my epoxy and used my stir stick to dribble roughly 12 drops of epoxy close to the end of the material.
My earlier experimentation had shown that, for me, this was about the right amount of epoxy to achieve a good spread and stay close to the target weight.
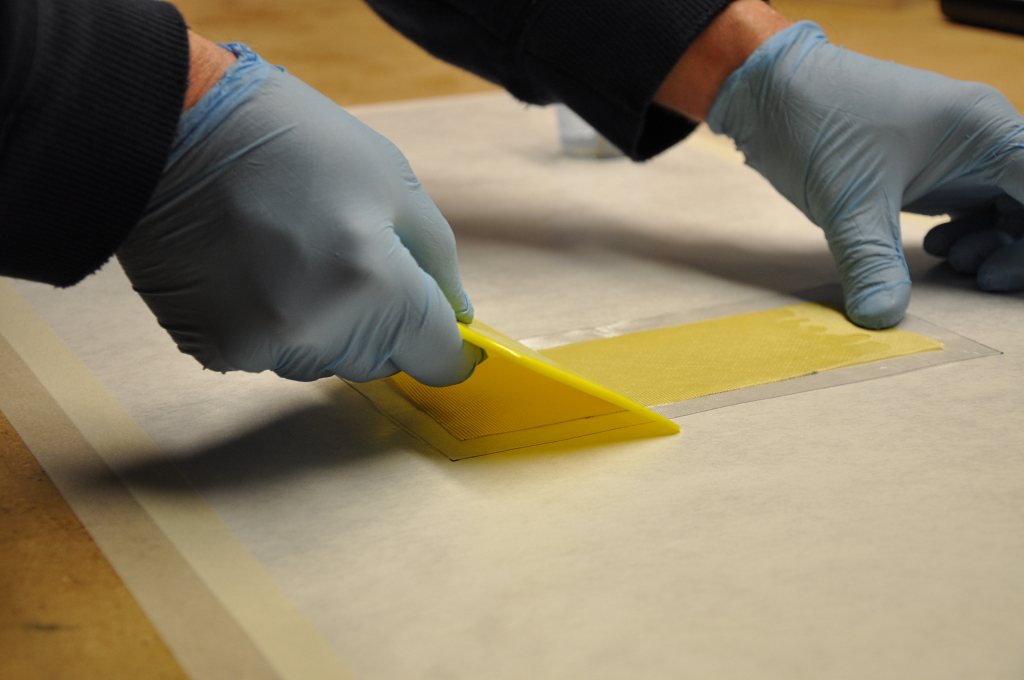
I then used a rubber scraper to GENTLY drag the epoxy over the material.
You need to be careful how much pressure you apply here, because the 45 degree bias cloth will easily pull out of shape if you get too aggressive and the fine fiberglass will fray along the edges making a mess as you pull.
I purposely used a little more epoxy than needed, in order to facilitate spreading without pulling too hard. After everything is coated, we will soak up the excess.
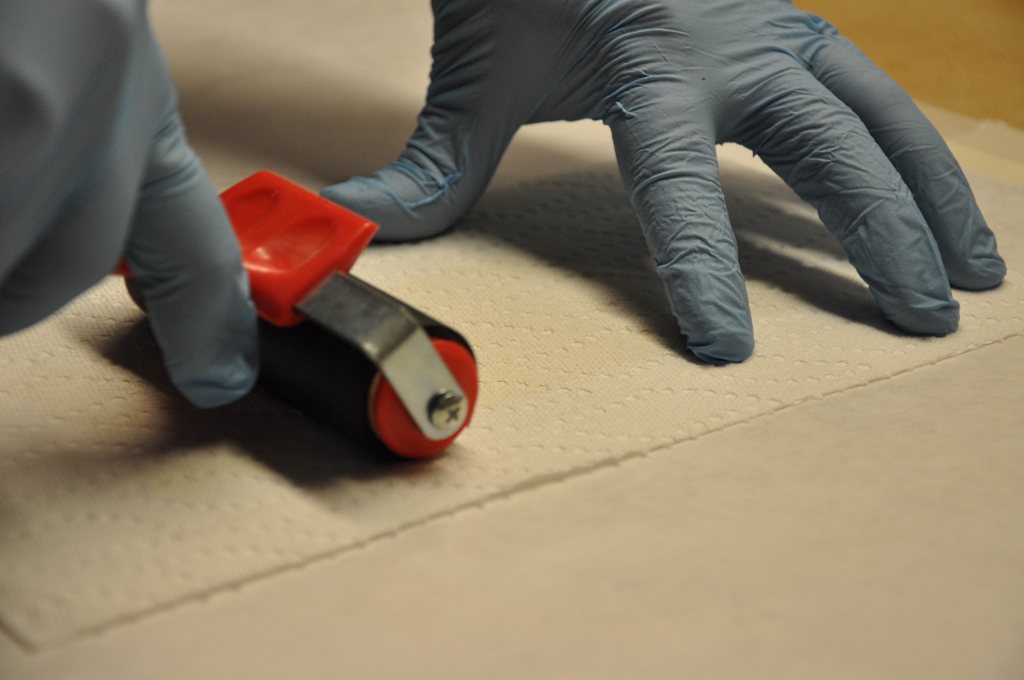
Next I placed a paper towel strip over the layup and used a hard rubber roller to soak up as much epoxy as I could.
I suppose this also ensured that the epoxy saturated all the fibers, including the glass that was underneath the Kevlar.
At this point, I could probably have flipped the layup over, and used another paper towel to absorb more epoxy from the glass side. However, I chose not to risk it as the fiberglass would probably not have picked up well and as a result my tubes are a bit over the target weight but acceptable to me.
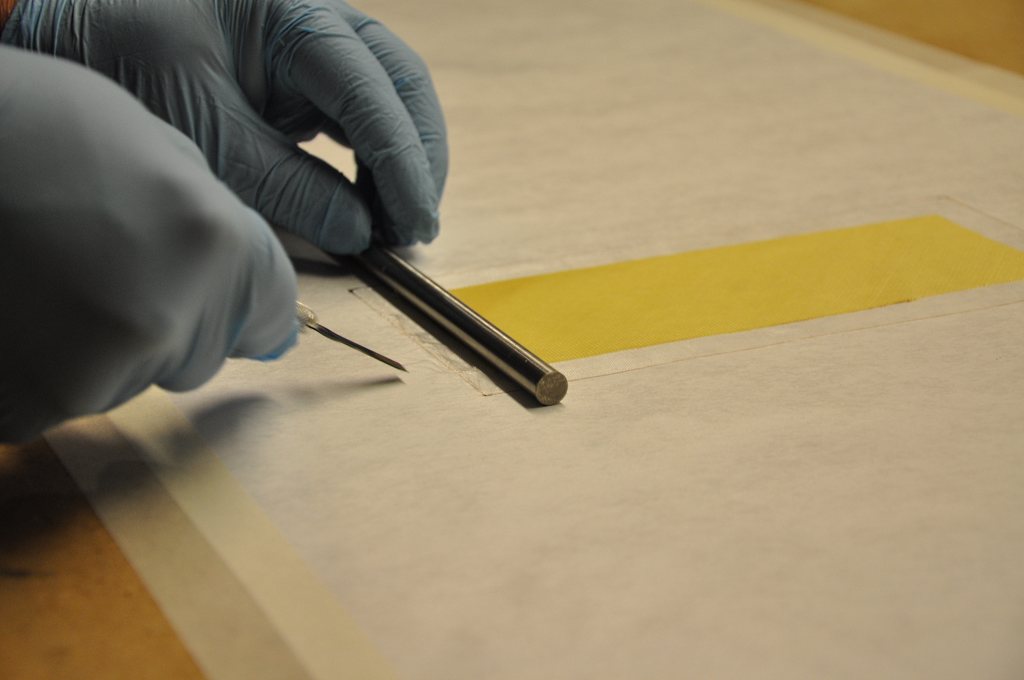
I removed the paper towel and place my metal rod at the end of the layup.
Using a flat razor, I gently lifted the fiberglass from the paper onto the rod.
I then started rolling, using a gentle pulling pressure to ensure that the roll was tight.
(I taped the edges of the paper onto the workbench so that I could pull against the paper, thereby allowing a tight roll up.)
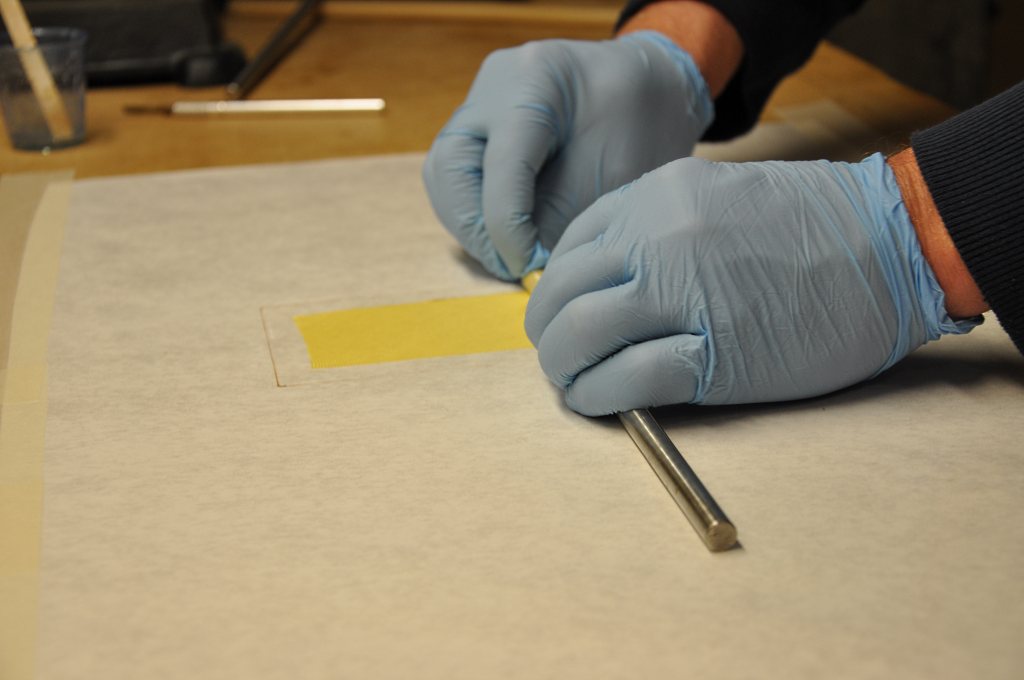
Here is the finished roll up.
You will note the over-hanging fiberglass is not as nicely wound, but it really does not mater as it will all be cut from the final tube.
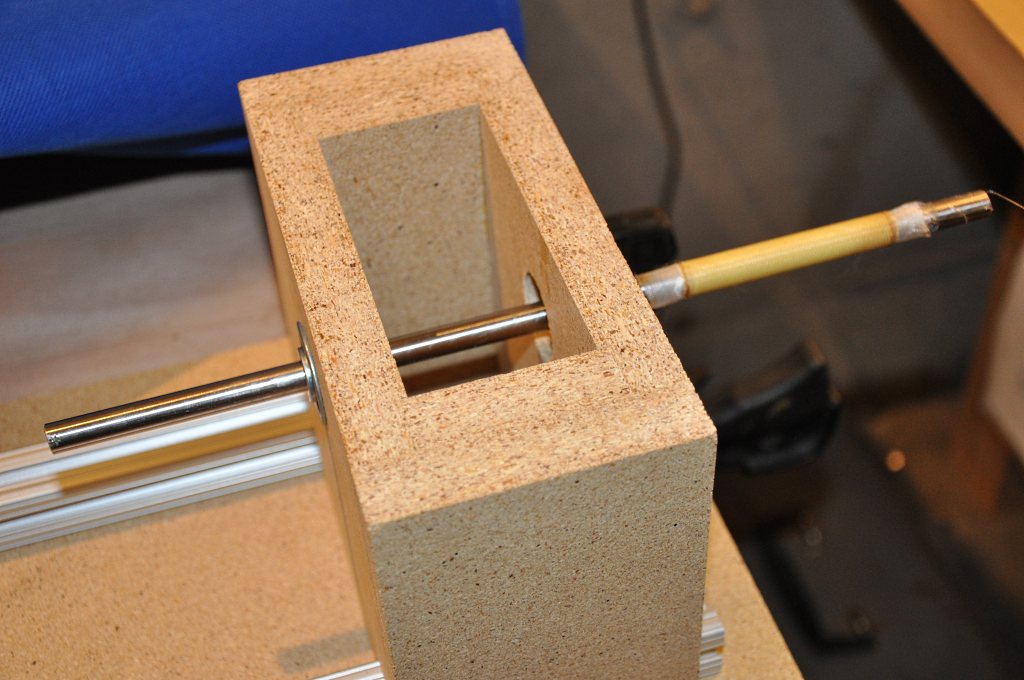
Now here is the reason I used a stainless steel rod instead of the carbon rod for the roll up.
In one of those happy coincidences, I discovered that I had made the tailstock of my cheap lathe with a 3/8 inch steel rod. This provided the perfect way to secure my tube layup for the next step of spiral wrapping with electrical tape.
I sized my rod to 12 inches. This allowed enough overhang through the tailstock for a helper to turn the rod while I applied the tape over the tube material.
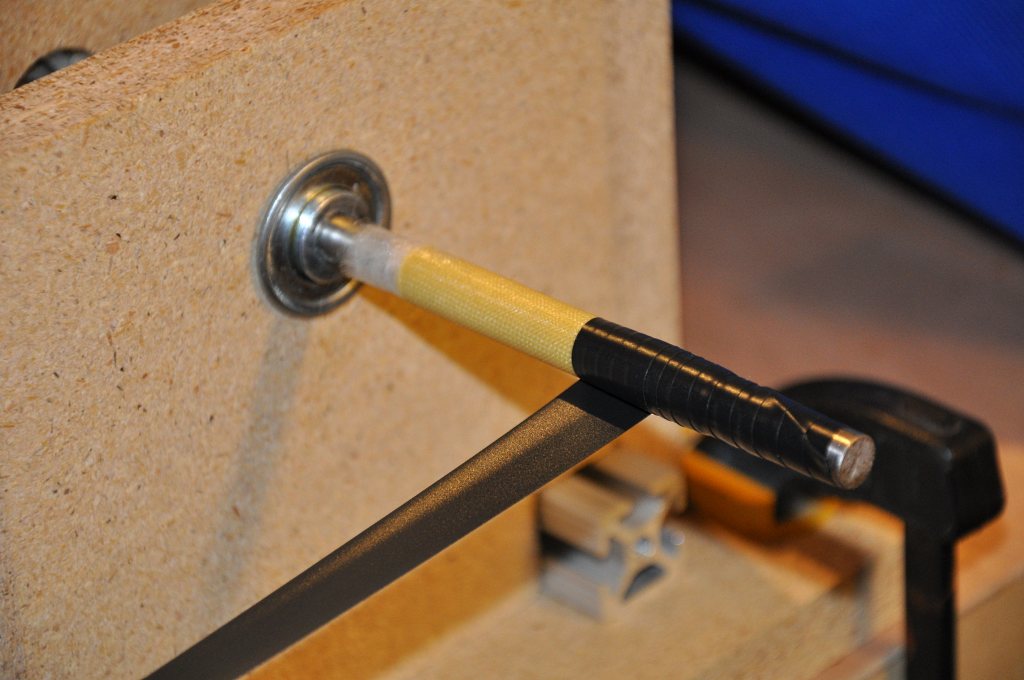
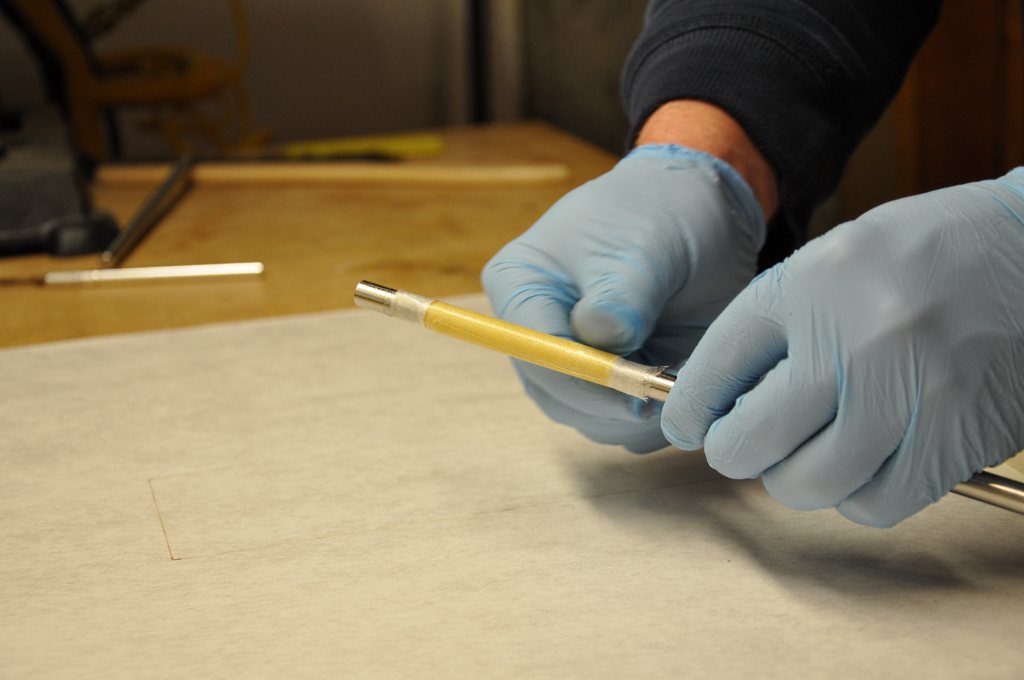
With my helper turning the far end of the rod, I spiral wrapped the tube using plain old electrical tape.
I was able to keep a tight pull on the tape as I went, because the rod was nicely secured in the tailstock. This ensured that the layup was compacted sufficiently.
I then set the wrapped rod aside for 8 hours until it cured. (Follow your epoxy manufacturer's recommended cure times.)
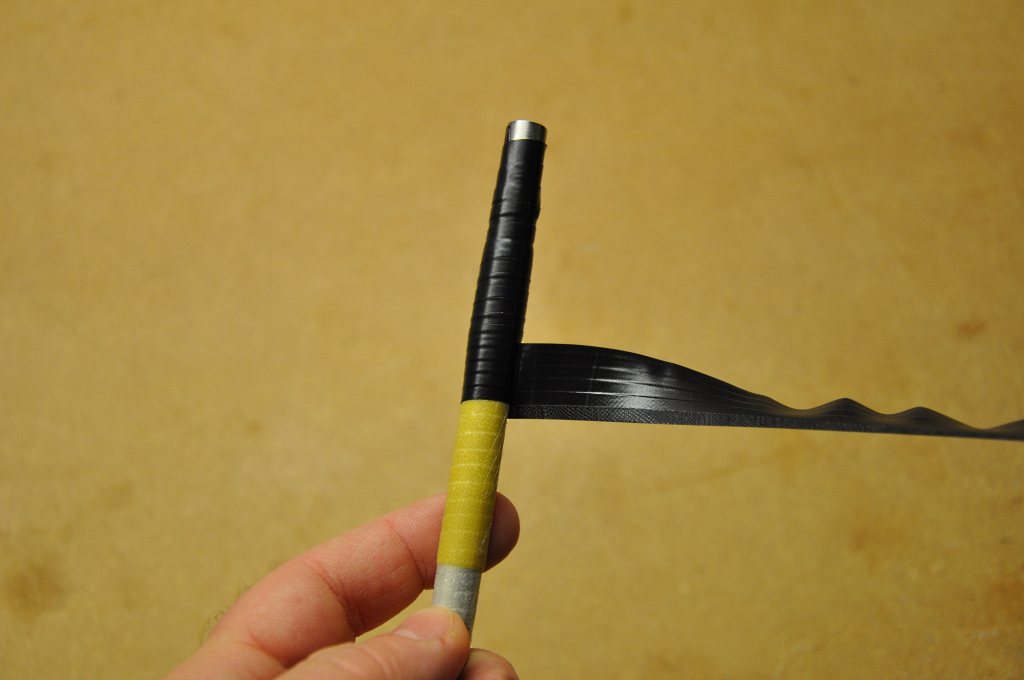
Once cured, simply unwrap the electrical tape, as the tape does not stick to the layup.
If you waxed the rod sufficiently, a moderate twist will release the tube from the rod.
I applied more wax and mold release for each successive tube and found that each tube came off easier than the last. (Note: If you are having difficulty getting the tube off, throw it in the freezer for an hour - the rod will shrink, but the composites will not, trust me, it will come off now.)
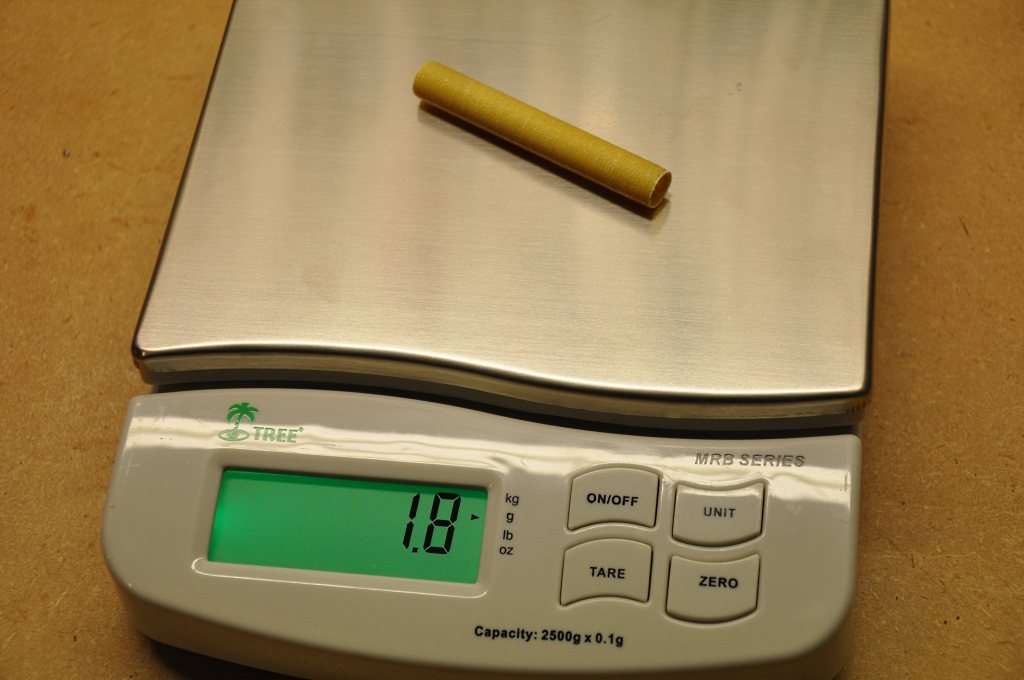
Finally, trim the tube to length and you are done!
As I mentioned, my tubes are coming out slightly over the 1.5 gram target because of skipping more aggressive epoxy removal steps, but this is satisfactory to me for the added simplicity.
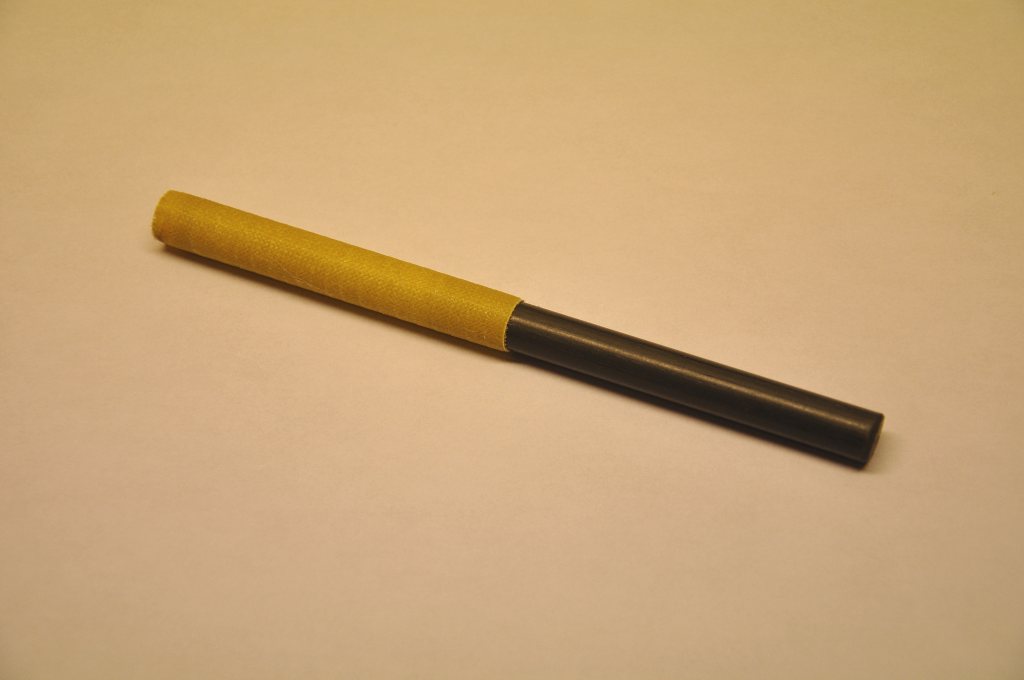
The fit of the carbon joiner rod to the kevlar tube is zero-clearance... just how we want it.
Here are some links that I found helpful for tube manufacturing:
Tips from Mike Trutwin on MRCSS
Balast Tube thread by Target on RC Groups